Sponsered /Affiliate Disclosure: I’m thrilled to partner with The Home Depot for this DIY garden project! This post is sponsored by The Home Depot, and all opinions, project ideas, and product selections are completely my own. Affiliate links are included below, which help support the blog at no extra cost to you.
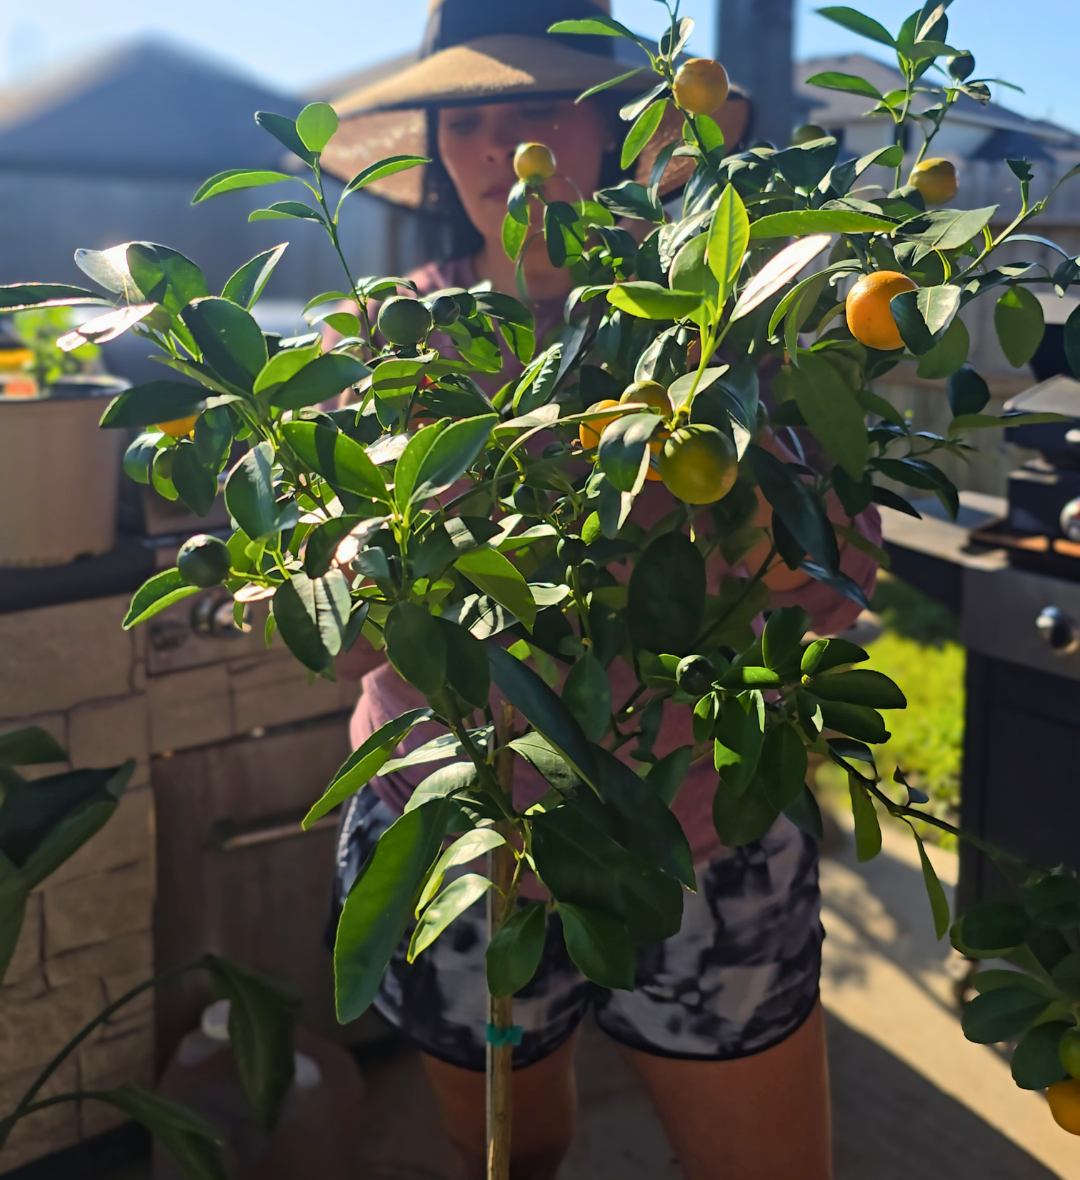
Nothing beats stepping onto the patio, picking a sun-warmed lime from the tree, and heading to the kitchen to use it in a fresh recipe. If you want to grow your own fruits and veggies at home, container gardening makes it much easier.
But let’s be real for a second: a massive wooden barrel full of soil and a tree weighs a ton. If a sudden Texas freeze hits or you just need to chase the sunlight on your patio, moving it can break your back.
Today, we’re going to solve that problem. I’ll show you how to add strong wheels to a wooden barrel planter and how to pot a lime tree for the best growth with the right soil and drainage.
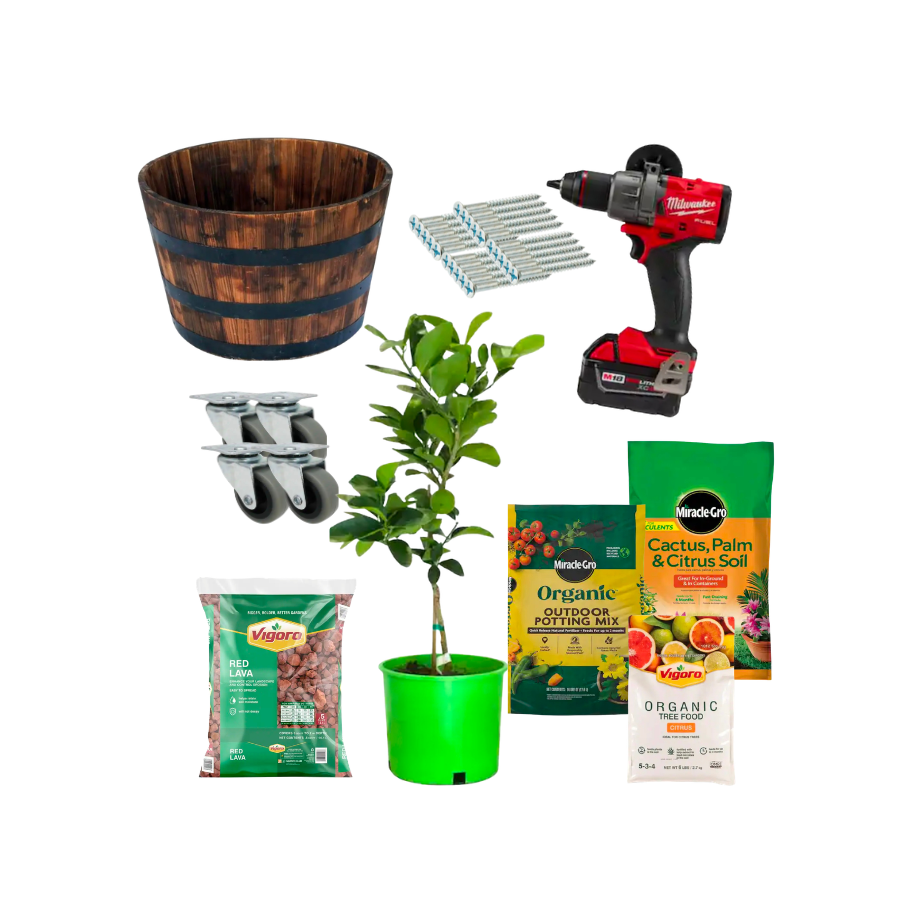
Your Home Depot Shopping List
- Wooden Whiskey Barrel Planter
- Everbilt 2-inch Swivel Casters (Get 4)
- 1-inch Wood Screws (Heavy-duty, outdoor-rated)
- Power Drill
- Red Lava Rock (1 bag for superior drainage)
- Miracle-Gro Potting Mix for Cactus, Palm, and Citrus (2-3 bags depending on barrel size) or
- Miracle-Gro Organic Outdoor Potting Mix (2-3 bags depending on barrel size)
- Organic Citrus Tree Plant Food Fertilizer
- A Lime Tree (Key lime or Persian lime work beautifully)
Step 1: Upgrading the Barrel with Casters
Before adding any soil to the barrel, let’s put on the wheels.
- Flip and Position: Prep the base.
Turn your empty wooden barrel upside down on a flat surface. Place your four swivel casters evenly around the outer edge of the barrel’s bottom. Keep them near the rim where the wood is strongest, and make sure the wheels can spin all the way around without bumping into the edge. - Pre-Drill the Holes: Prevent splitting.
Mark where the screws will go with a pencil. Choose a drill bit that’s a little smaller than your wood screws and drill pilot holes at your marks. This step is important because it helps prevent the thick barrel wood from splitting. - Secure the Casters: Drive the screws.
Switch to a screwdriver bit on your drill. Put the casters over the pilot holes and screw in your 1-inch outdoor wood screws until they’re secure. - Flip and Test: Check the roll.
Turn the barrel right-side up and give it a push. It should roll smoothly across your patio. Lock the casters with brakes to keep it in place for the next step.
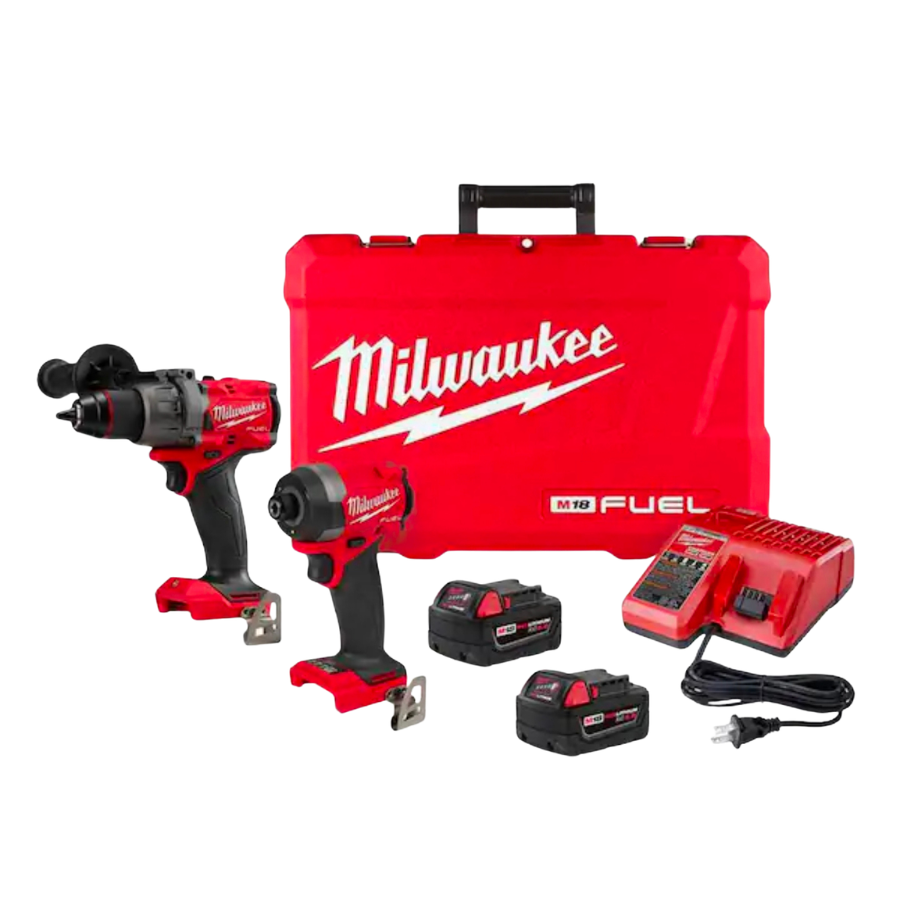
Powered By: The Milwaukee M18 FUEL Drill Set
Drilling through the thick wood of a whiskey barrel takes a strong tool. For this project, I used the Milwaukee M18 FUEL 18V Cordless Drill Set. Its brushless motor gives great power and doesn’t slow down, so it easily handles both pilot holes and driving screws. The battery lasts a long time, so you can work on garden projects all weekend without stopping to recharge. It feels balanced and has all the power you need for tough outdoor jobs.
Step 2: Potting the Lime Tree for Success
Now that the container can move easily, it’s time to set up the best home for your lime tree. Citrus trees don’t like wet soil, and their roots can rot fast if water collects at the bottom.
- Add the Red Lava Rock: Pour 2 to 3 inches of red lava rock into the bottom of the barrel. This rock helps drain extra water and keeps the roots healthy by letting air in.
- Add the Soil: Fill the barrel about halfway with Miracle-Gro Cactus, Palm, and Citrus potting soil or the Miracle-Gro Organic Outdoor potting soil. This mix drains quickly and gives citrus roots the nutrients they need.
- Plant the Tree: Carefully take your lime tree out of its nursery pot and gently loosen the outer roots. Place the tree in the center of the barrel, with the top of the root ball about 2 inches below the rim.
- Fill and Press: Add more potting soil around the root ball, pressing it down gently with your hands to remove big air pockets. Add organic fertilizer around the rim.
- Water Well: Water the tree deeply until you see water coming out of the drainage holes at the bottom.
DIY Pro-Tip for Barrel Planters
Drill Extra Drainage: Most wooden barrels onlDrill Extra Drainage: Most wooden barrels only have one small drainage hole in the center, which isn’t enough for citrus trees. Before adding the casters, use your Milwaukee drill and a 1/2-inch spade or twist drill bit to make 3 or 4 more drainage holes around the bottom. With these extra holes and your red lava rock layer, your lime tree will have great drainage and stay healthy for many seasons. Mobile and ready to soak up the sun. I can’t wait to share the recipes we cook up with these fresh garden ingredients later this season!